
How to Take a Professional Photo at Home
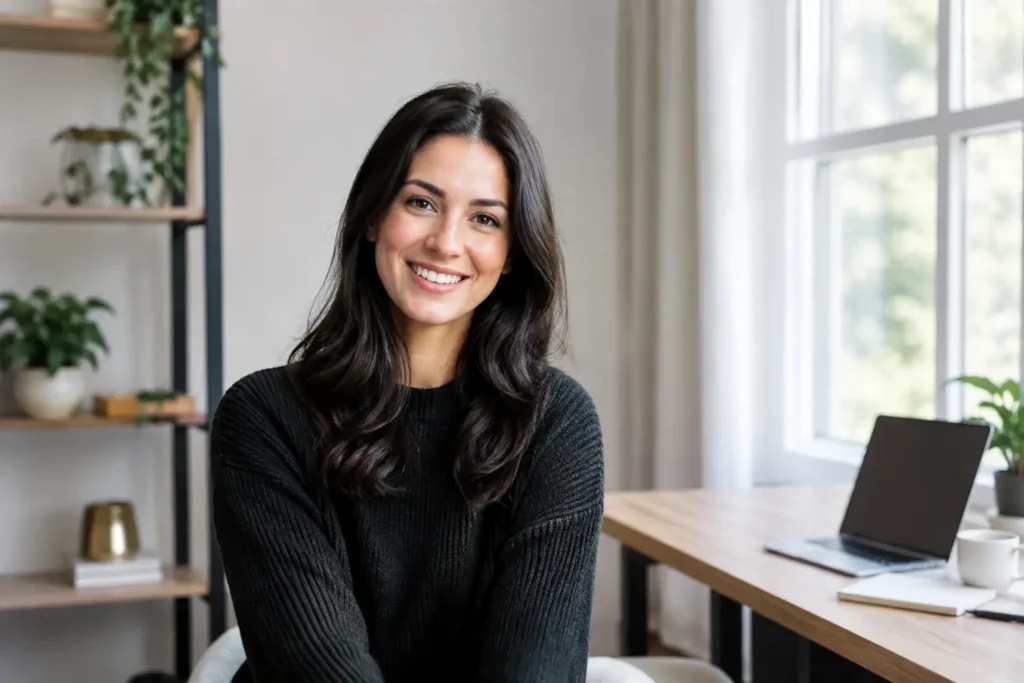
A professional photo at home does not require a studio backdrop, expensive camera, or a perfectly styled room. It does require intention. The difference between a quick selfie and a photo you would confidently use on LinkedIn, a resume, or a business profile usually comes down to light, framing, expression, and a clear sense of where the image will be used.
For many people, the hardest part is not taking the picture. It is deciding what a professional photo should look like for their role, industry, and personality. A corporate headshot, a freelancer’s profile image, and a creator’s personal-brand portrait can all look polished without looking identical.
Start With the Purpose of Your Photo
Before choosing a shirt or moving furniture, decide where the photo will appear. A LinkedIn photo needs to make you recognizable at a small size and communicate confidence quickly. A resume photo, where appropriate for your field and location, should be simple and restrained. A profile picture for a creative business can allow more personality, color, and visual character.
This decision affects every other choice. For a formal professional headshot, keep the background quiet, wear solid colors, and frame the image from the chest or shoulders up. For social media or personal branding, you may choose a wider crop that includes a workspace, a favorite chair, or a subtle hint of what you do.
The goal is not to look like someone else. It is to look prepared, approachable, and like the person someone will meet on a video call or in real life.
Set Up a Professional Photo at Home With Good Light
Lighting is the fastest way to improve an at-home portrait. Soft window light is often enough. Stand facing a large window, ideally when direct sun is not pouring across your face. An overcast day can be especially flattering because the light is naturally diffused.
Avoid putting the window directly behind you. Backlighting can turn your face into a shadow and leave the camera struggling to expose the image properly. If the only available window is behind you, turn slightly so light reaches the front and side of your face, or move to a different room.
A simple setup works well: place the camera at eye level, face the window, and stand a few feet away from the background. That distance helps prevent harsh shadows and creates more separation between you and the wall behind you.
If you are photographing yourself at night, use a lamp with a soft shade placed in front of you or slightly to one side. Ceiling lights alone often create unflattering shadows under the eyes and nose. Mixing very warm indoor lights with cool window light can also make skin tones look uneven, so use one main light source whenever possible.
Choose a Background That Supports the Image
A blank wall is often the safest choice, but it is not the only one. A clean corner of a room, a softly blurred bookshelf, or an uncluttered office can work well if it feels natural to your professional life. What matters is that the background does not compete with your face.
Take a moment to check the edges of the frame. Remove laundry, dishes, tangled cords, busy artwork, and anything that appears to grow out of your head. Small distractions are easy to miss when setting up, but they can make an otherwise strong image feel casual.
For most professional uses, neutral tones such as off-white, gray, muted blue, or warm beige are reliable. A darker background can look polished too, provided there is enough light on your face and enough contrast between you and the wall.
Get the Camera Position Right
A phone camera can produce a strong professional portrait when it is positioned well. Do not hold it too close to your face. A close selfie can distort facial features, particularly around the nose and forehead. Instead, place the phone on a tripod, stable surface, or stack of books and use the timer.
Keep the lens at eye level or just slightly above. Shooting upward from below the chin is rarely flattering, while a camera placed too high can make the pose look overly staged. Step back from the camera and use a slightly longer focal length or portrait setting if your phone offers one. This usually creates a more natural perspective than an arm’s-length photo.
Leave enough room around your head and shoulders to crop later. For LinkedIn and other profile images, your face should fill a meaningful part of the frame without feeling crowded. A head-and-shoulders composition is a dependable starting point.
If someone else is taking the photo, ask them to take several frames rather than one. Small changes in posture, expression, and focus can make a major difference. It is much easier to select the best image when you have options.
Dress for Clarity, Not Costume
Wear something you would realistically choose for an important meeting, interview, client call, or event in your industry. You do not need a suit if that is not how you work. A well-fitting shirt, blouse, knit top, blazer, or clean jacket can look professional when it suits the context.
Solid colors generally photograph better than dense patterns, large logos, or high-contrast stripes. Mid-tone blues, greens, burgundy, charcoal, and cream are often good choices. Pure white can work, but it may appear overly bright in strong light. Black can look sharp, though it may lose detail against a dark background.
Pay attention to fit and comfort. If an outfit feels stiff or unfamiliar, that discomfort often shows in your posture. The most convincing professional portraits feel composed, not overdone.
Use a Pose That Feels Like You
You do not need to hold a dramatic pose. Start by standing or sitting tall, relaxing your shoulders, and turning your body slightly away from the camera. Then bring your face back toward the lens. This small angle usually looks more natural than facing forward with both shoulders square.
Keep your chin level or very slightly forward. Many people pull their chin back when they feel self-conscious, which can create an awkward angle. Think about lengthening through the top of your head rather than forcing a pose.
Your expression should match the purpose of the image. A relaxed smile is a strong choice for most professional profiles because it feels open and trustworthy. A neutral expression can work for a more editorial or creative portrait, but it should still look engaged. Take a few shots while looking directly at the lens and a few with your gaze slightly off-camera. You may be surprised by which version feels most like you.
Review Before You Edit
Choose the photo with the best combination of clear eyes, flattering light, natural posture, and a believable expression. Do not automatically choose the image where you look most serious or most filtered. A good professional photo should be current and recognizable.
Basic editing can help correct exposure, crop distractions, and balance color. Be careful with heavy skin smoothing, extreme whitening, or filters that change your features. These edits can make a portrait feel less credible, especially when the photo is used for job searching or client-facing work.
If you have a good set of selfies or home portraits but need more polished options, Pixel Studio App can help you create personalized professional-looking portraits and photo sessions from images you already have. It can be a practical alternative when you need a stronger profile photo without organizing a traditional studio appointment.
Know When an At-Home Photo Is Enough
For LinkedIn, resumes, speaker bios, business websites, and everyday professional profiles, an at-home image can be exactly what you need. The right light and thoughtful framing often matter more than a studio address.
There are situations where a traditional photographer may still be worth considering. Teams that need matching headshots, executives preparing major press materials, or brands planning a large campaign may benefit from a photographer’s direction and controlled setup. It depends on the stakes, the required visual consistency, and how many people need to be photographed.
For most individual needs, though, start with what is available. Clear window light, a calm background, a camera at eye level, and a few intentional minutes can give you a photo you are genuinely ready to use.
Pronto pra criar suas próprias fotos com IA?
Envie uma foto e gere resultados profissionais em minutos, sem sair de casa.
Começar agora