
How to Create a Baby Photoshoot at Home
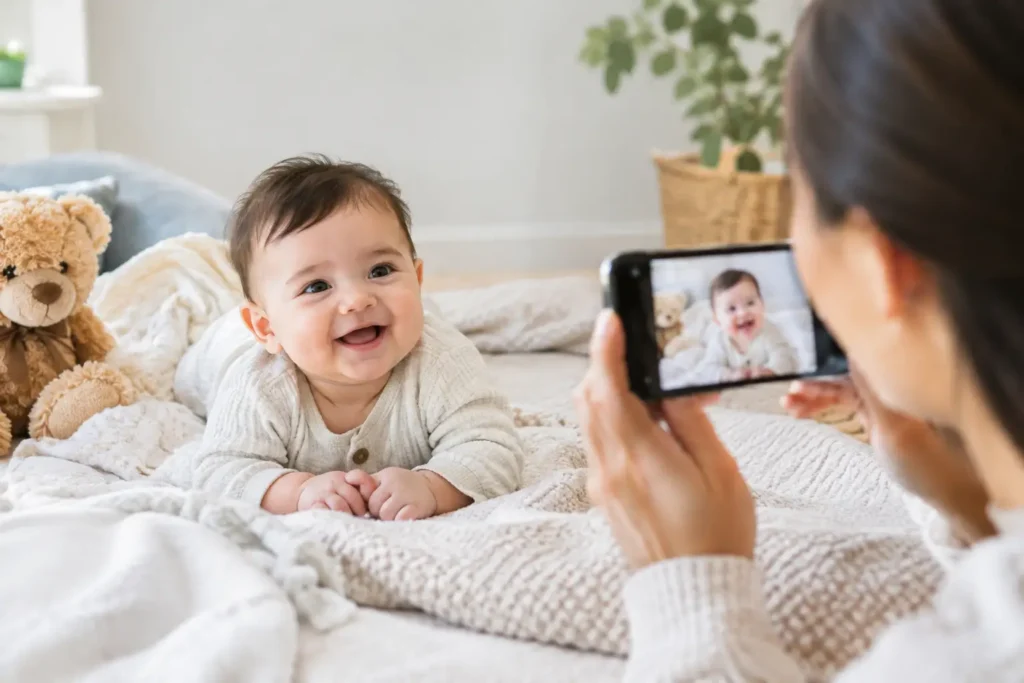
A baby’s best expressions rarely arrive on cue. They show up after a feed, during a quiet stretch on the bed, or when a parent makes the one sound that always earns a smile. That is exactly why learning how to create a baby photoshoot at home can work so well. You already have the place where your baby feels comfortable, familiar light, and the freedom to pause whenever they need you.
The goal is not to recreate a formal studio. It is to make a small, calm space where your baby looks like themselves. A few thoughtful choices around light, safety, clothing, and timing will give you photos that feel natural enough to keep, print, and share.
Start with your baby’s rhythm, not the camera
The easiest home photoshoot starts at the right time of day for your baby. For many infants, that means shortly after a feeding and diaper change, when they are alert but not overtired. Older babies may be happiest after a nap, when they have had time to settle in and play.
Build in more time than you think you need. A 15-minute session may take an hour once you include feeding, soothing, outfit changes, and breaks. That is normal. A relaxed baby in a simple photo is more valuable than a perfectly styled setup with a frustrated one.
If your baby is fussy, stop. Try again later or switch the plan to cuddling with a parent near a window. Some of the most meaningful images happen when the original plan changes.
Use window light for a soft, natural look
Good light matters more than a costly camera. Find the largest window in your home and photograph near it during daylight hours. Sheer curtains are useful because they soften direct sun and reduce harsh shadows across a baby’s face.
Place the baby so the window is to one side or slightly in front of them. Side light adds gentle shape to cheeks, hands, and tiny details without looking dramatic. Avoid placing them with their back directly to a bright window, especially if you are using a phone. Their face may become too dark while the background turns bright white.
Turn off overhead lights when possible. Mixed lighting can create yellow or green tones on skin, which are difficult to make look natural later. If the window light is too intense, move a few feet farther back rather than relying on flash. Direct flash is rarely flattering for baby photos and can startle your child.
A simple test before you begin
Take a quick photo of your own hand where the baby will be positioned. If you can see soft detail without stark shadows or bright patches, the light is likely working. If the image looks dull, try a different room or photograph closer to the window.
Keep the setup simple and safe
A clean bed with neutral bedding, a plain rug, or a large blanket on the floor can become your entire set. Soft whites, warm creams, pale gray, muted blue, and gentle earth tones keep attention on your baby rather than the background.
Choose one or two props at most. A favorite blanket, a small stuffed animal, or a family quilt can add personality and meaning. Skip anything that competes with your baby or requires balancing them in an unstable position.
Safety comes before every photo. Never place a baby on a chair, table, high bed, or raised basket without a parent’s hands on them. Avoid poses that require propping up a newborn’s head or forcing their body into a position. Photograph them lying comfortably on their back, held securely by a parent, or sitting on the floor once they can sit independently.
For newborns, a floor-level setup is usually the least stressful option. Put down a blanket near the window, keep the room comfortably warm, and have a parent within arm’s reach at all times.
Dress for the photo, but keep comfort first
The best baby outfit is usually the one that fits well and lets them move. A soft onesie, knit set, simple dress, or bare feet with a blanket can photograph beautifully. Neutral colors are timeless, but there is no rule against a bright outfit if that is what feels like your family.
Avoid large logos, busy patterns, and stiff clothing that bunches around the neck or wrists. These details can pull attention away from the face. If you want a more polished look, choose colors that complement your room rather than matching every item exactly.
Parents should think about clothing, too. If you plan to be in the frame, wear solid colors and textures that do not distract. A cream shirt, denim, a soft sweater, or a plain T-shirt will look more natural than something overly formal. The point is connection, not coordination perfection.
How to create a baby photoshoot at home with a phone
A phone is more than capable of capturing beautiful baby pictures when you use it intentionally. Clean the lens first. It is a tiny step, but fingerprints can make photos look hazy.
Get down to your baby’s level instead of photographing from across the room. Move close enough that their eyes, hands, or expression fill much of the frame. Then take several images in a row. Babies change expression quickly, and the photo you love may happen between the posed moments.
Tap your baby’s face on the screen before taking the picture so the camera focuses where it should. If your phone allows it, lower the exposure slightly when photographing near a window. This can preserve highlights in pale blankets and keep skin from looking washed out.
Use portrait mode carefully. It can create a lovely soft background, but it may blur wispy hair, fingers, or the edge of a favorite toy. Take one portrait-mode image and one standard photo of the same scene, then choose later.
Photograph the moments between the poses
A varied gallery feels more complete than 20 versions of the same smile. Along with a clear portrait, capture the details that will change quickly: curled toes, eyelashes, a hand around your finger, milk-drunk sleep, or the way your baby looks up at you.
Include yourself and other caregivers in a few frames. A parent holding a baby near the window, a sibling sitting beside them on a blanket, or a close crop of hands can become the images your family values most. You do not need to look at the camera in every shot. Looking at your baby often creates a more honest photograph.
If you are photographing alone, prop your phone securely on a stable surface and use a timer. Take a short video, too. You can pull out a still frame later, and the movement may capture a natural smile you would otherwise miss.
Edit lightly so your baby still looks like your baby
A small amount of editing can refine an image without making it feel overprocessed. Straighten the frame, crop out distracting edges, brighten a dark photo slightly, and correct a strong yellow or blue color cast. Resist the urge to smooth every bit of skin texture. Newborn flakes, soft rolls, and tiny marks are part of this stage.
When you want a few more polished images without arranging another session, Pixel Studio App can be a practical way to create personalized baby and family photo options from photos you already have. Start with clear, well-lit source photos that show your baby naturally. The more genuine the original expression and lighting, the easier it is to preserve a realistic photographic feel.
Save both the edited versions and the originals. Your editing taste may change, and the unedited image is often a sweet record of exactly how the moment looked.
Give yourself permission to try again
A home baby photoshoot does not need to happen in one afternoon. Take a few photos today, return to the same window tomorrow, and keep the setup easy enough to repeat. Over time, you will build a collection that shows more than one perfect expression. It will show your baby growing, changing, and being completely at home with you.
Pronto pra criar suas próprias fotos com IA?
Envie uma foto e gere resultados profissionais em minutos, sem sair de casa.
Começar agora